Every time we move something in the yard dozens of little slater bugs make a run for it. These little creatures are covered in what appears to be armour and roll up into tight little balls when they feel threatened. This defensive mechanism is the inspiration for the other common name for these bugs; roly-poly bugs. In fact they are not bugs at all, but a type of crustacean. I believe they are also known by some other names such as woodlice and pill bugs. A and L are fascinated by slater bugs, as was I as a child.
One evening A found a little slater bug on our driveway, she rescued it and called it Little Champ. She asked if she could keep it. I was on the verge of suggesting she place it back in the garden, but what came out of my mouth was actually “Sure, let’s find a container.” Now I didn’t know anything about keeping a slater bug, so I turned to my friend, the internet, for more information.
I found the following pages helpful in setting up our slater bug enclosure:
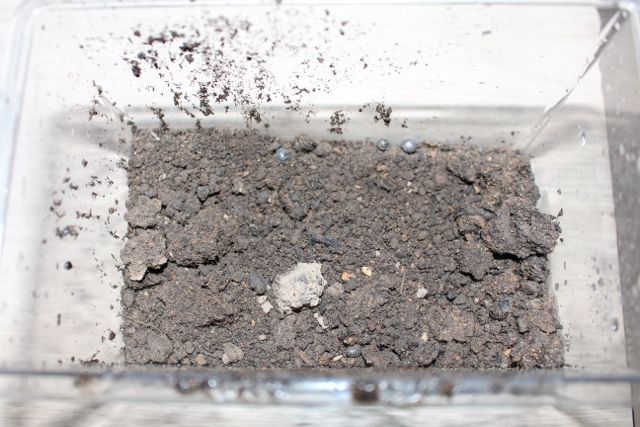
Dirt in the tank.

Leaf litter.
We had an old plastic aquarium that we used to use for mice. We cleaned, rinsed and dried it, before placing some dirt from our garden into the bottom of it. We took dirt from an area where we found slaters so that we knew it would be okay for them. A placed Little Champ into the tank, and then the kids went out to find more slaters. They brought in around a dozen or so and placed them in with Little Champ.
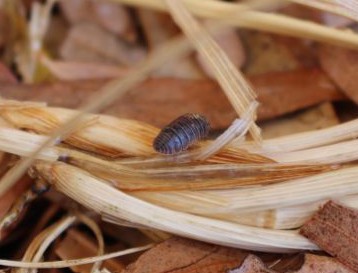
A slater happy in the leaf litter.
Slaters like to be in places where they can hide and it is damp. We placed dry leaf litter on top of the dirt, and used a spray bottle to moisten the contents. The kids added some fresh cherry tree leaves, twigs and dried grass for the slaters to climb and hide amongst.
I occasionally pull out the old leaf litter and refresh it, and I remove anything that looks like it might be becoming mouldy, but I don’t need to clean out the tank completely. We keep the enclosure moist, but not too wet and we feed them scraps from the table, such as lettuce leaves, snow peas, carrot peel, and bits of fruit. I have found that they like snow peas and beans best.
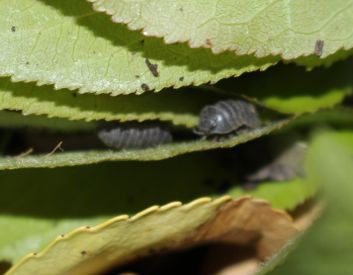
Exploring the cherry tree leaves.
The slaters must be happy in their new home because they have been breeding. We now have dozens of tiny white babies swarming around the tank. It is amazing to see something so small yet so much like their parents! I think we will have to transfer them to a bigger tank soon.
We love watching the slaters scurry around their tank, they are very interesting! Slaters are extremely easy to care for and very quiet. They make excellent, cheap pets for children, that will provide hours of entertainment.

Slaters in the hand.


 Doll Bones