A is into rainbows at the moment.
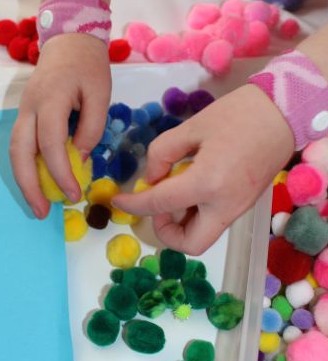
Sorting pom poms.
I got out our tray of pom poms, which contains many pom poms in various sizes and colours. A first sorted through them to find the pom poms she wanted to use, placing them in piles of like colours. She chose to use six colours in her rainbow, and to place it on clouds. The clouds are made of cotton balls as A thought they were fluffier, and more cloud-like than the white pom poms we had.

Placing a line of pom poms.
A asked me to place a line of craft glue on her paper in the shape of a rainbow. She carefully placed the pom poms onto the line of glue, one at a time, making an arch in one colour. Then she worked on the next colour, and the next until she had her rainbow complete. Placing the pom poms using her pincer grip was good for her fine motor skills.

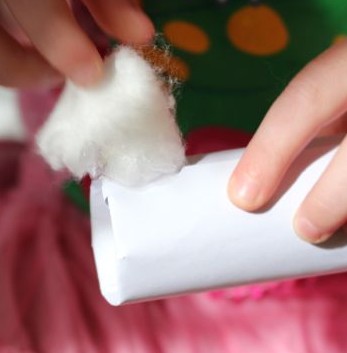
Sticking on the clouds.
Once all the pom poms were placed onto the paper, A put some glue at the bottom on each side of the rainbow. This is where she placed the cotton ball clouds. I thought it looked very good like this, but A decided that it needed some birds (some birds turned into a lot of birds!).
We have put this one up on our wall. It looks a little lonely at the moment, but we are planning to make some more rainbow pictures to go alongside it.

Rainbow picture with birds.