I remembered making yarn dolls when I was a child, and I wanted to try it with the girls.

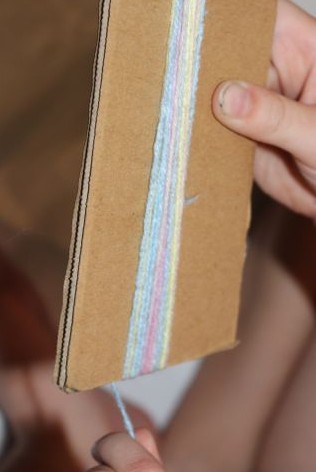
Wrapping the yarn around the cardboard.
First I cut some sturdy cardboard up into two rectangles to use to wrap the yarn around to make the body of the doll. I started each child off by winding the yarn around a few times, and then they continued to wind it until it was as thick as they wanted it to be. Once that was done, I helped them remove the hank of yarn from the cardboard. From this yarn we would make the head, body and legs of the doll.
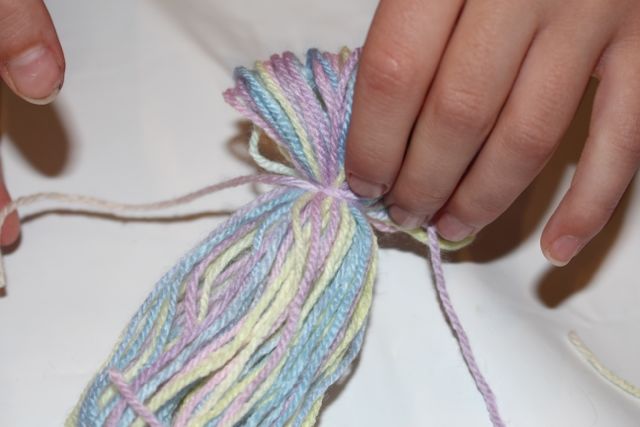
Tying yarn around the body to form the head.
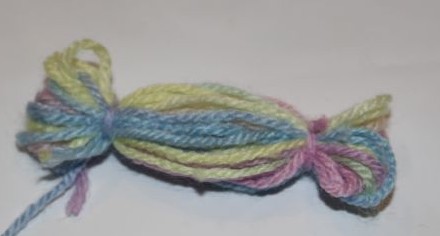
The body with hair, head, body and legs.
L cut a few pieces of yarn off the ball to use to tie around the hank of yarn to differentiate the hair from the head, and the head from the body and the body from the legs. L tied her knots, but A had difficulty, and asked me to help her do this part. Once the yarn was tied around the body at the top of the legs, we split the yarn beneath this into two roughly equal parts, forming the legs. A small section at the base was also tied off to form feet.
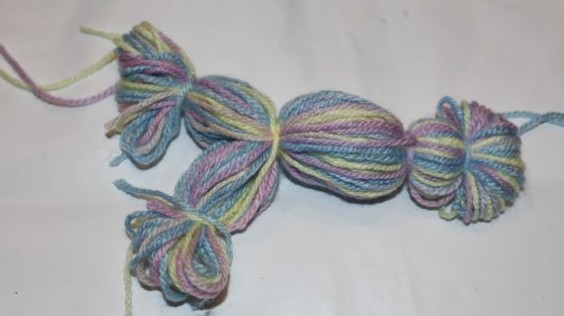
Arms ready to be added to the body.
To make the arms, the kids wrapped some more yarn around their cardboard, but this time, around the shorter sides of the rectangle. This hank of yarn was also not as thick as that of the body. Once we had removed this yarn from the cardboard, a small section on each end was tied off to form the hands.
We carefully threaded the arms through the body of the doll, and secured the arms in place using another piece of yarn wrapped around the doll’s chest in a criss-cross under the arms and around the back. We snipped off all the loose threads from our knots, and then the dolls were done. L left her doll just as it was, but A added some tiny googly eyes to her doll, but not other facial features.