L’s school has been running a ‘paint and play’ or ‘stay and play’ program on a Friday morning for a while now. And we like to go along and enjoy it. There is usually some art and/or craft activities, toys, music, books, and sensory play. L liked in when she was still in preschool, and would probably still like to come to it if she didn’t have to be in class instead 🙂 I’ve been taking A regularly and she has made friends with some of the other kids that come regularly too. It is mostly other families that have older kids at the school. It is nice and easy to take L to class and then read books or do puzzles in the library until it’s time to gather under the trees at the front of the school for a play.
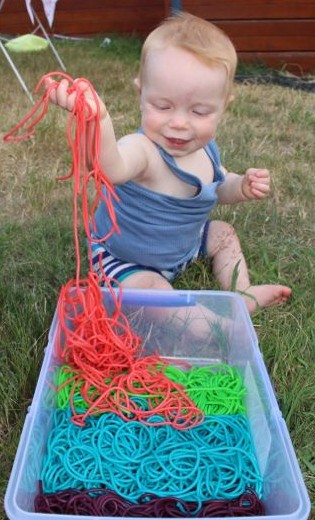
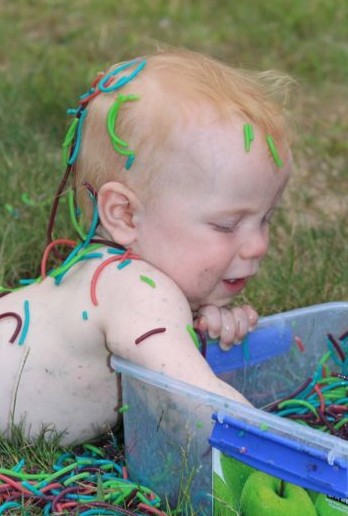
One of the sensory play items they sometimes have out is a huge tub of rainbow coloured rice. A loves it. A few times we’ve been, that is the only thing she has played with the entire time. She loves to run her fingers through it, pour it into different containers, spoon it around, put play animals in it, tell the other children it is hers and they can’t play with it…
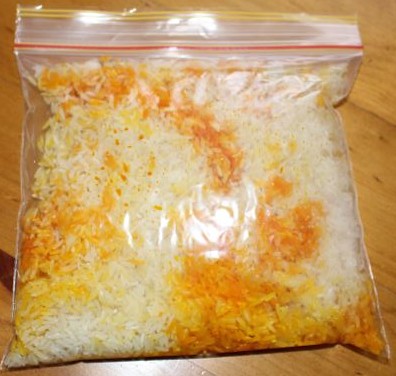
I’d been thinking for a while that I should find out how to colour rice and make some for home, so I finally did. Turns out it’s pretty easy to do (thanks Powerful Mothering for showing me how!) A little bit of white vinegar mixed with food colouring in a ziploc sandwich bag made it super easy. I used about a cup of rice for each colour until I ran out of rice. A helped by putting the rice into the cup measure for me. I wish I’d taken a photo of the kids mixing the colour through the rice in the bag. They really liked squishing it around and shaking it to get the colour on all of the rice. The colour would have been more vibrant had we used white rice, but we had some old brown rice in the cupboard that we weren’t going to eat, so we put it to good use. I think the colour still took fairly well, though the red and pink look rather similar.

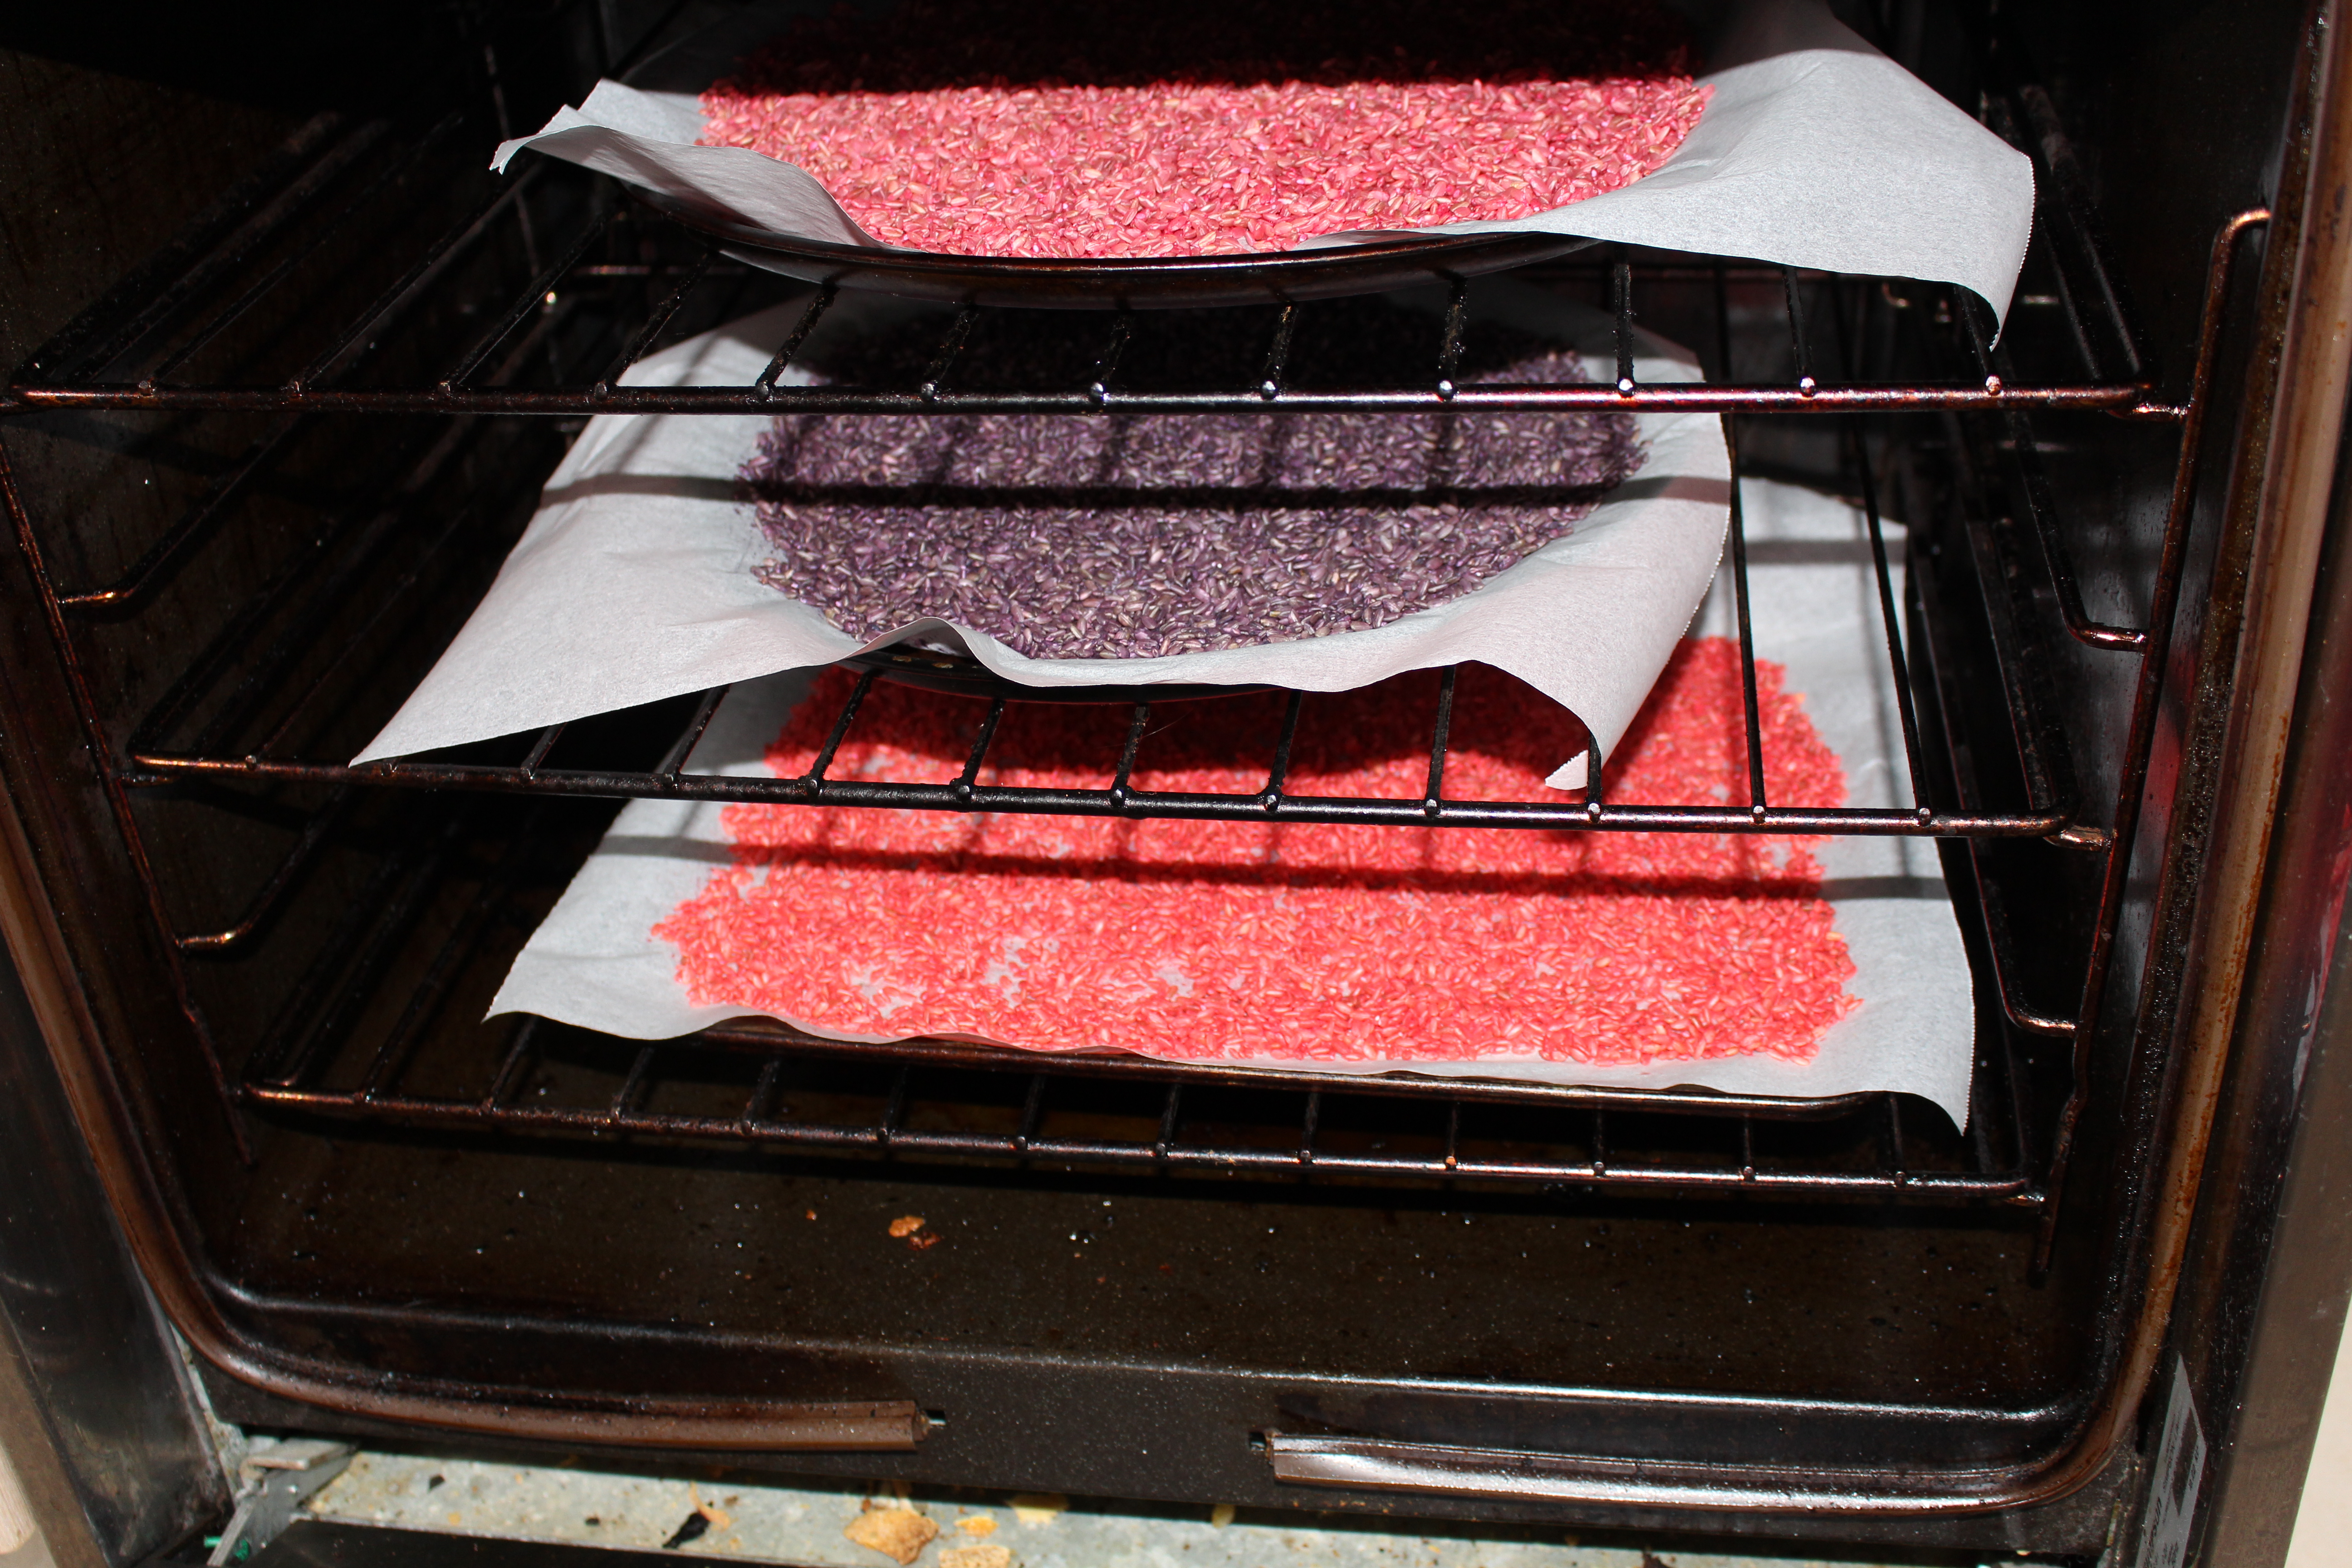
Coloured rice drying.
The rice needed some time to dry so I spread it out on baking trays. I popped it in the oven on low

Coloured rice drying in the oven on low.
with the door propped open for a little while to speed up the drying time, since it’s still so cold here I thought it would take ages to completely dry, and I couldn’t put it outside in the sun as it was too windy. It didn’t take too long to dry like this, though the kids asked when it would be ready several dozen times.

Ready to play with.
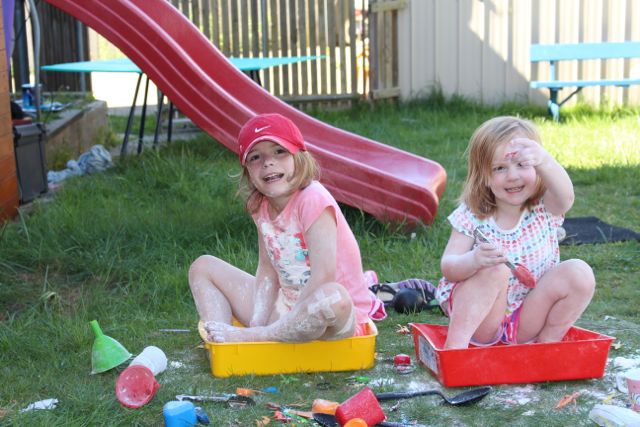
The kids started out with one colour each, but predictably, that didn’t last long, and we soon had rainbow rice. They also wanted a little bit more, so we added some plain white rice to the mix as well.

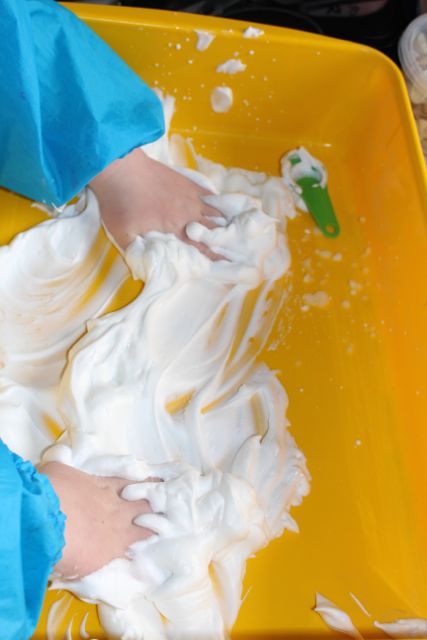
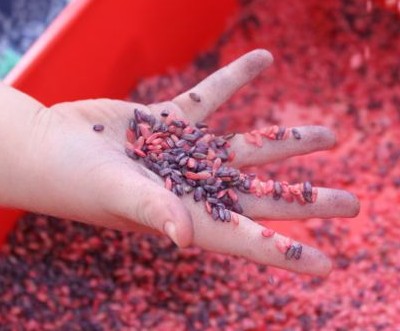
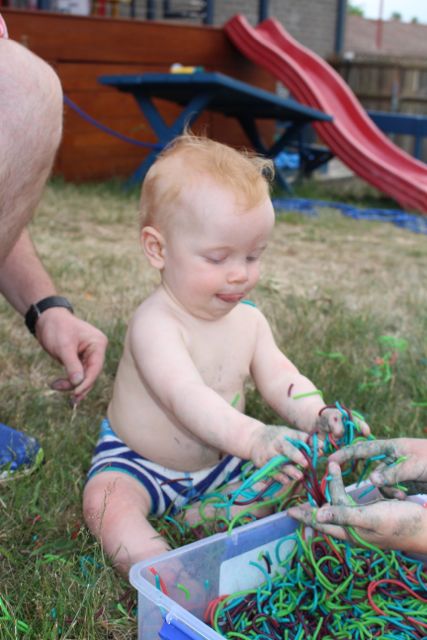
Feeling the rice.

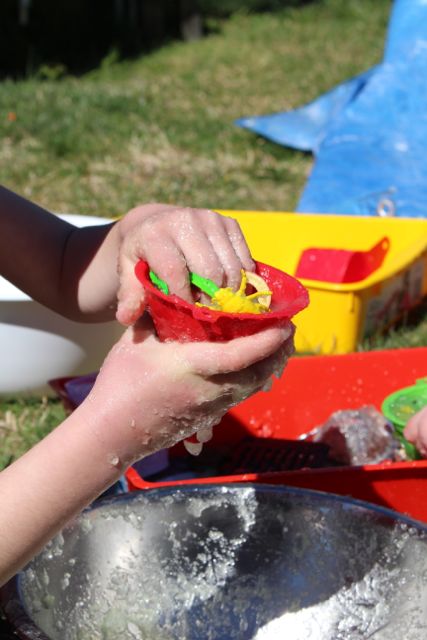
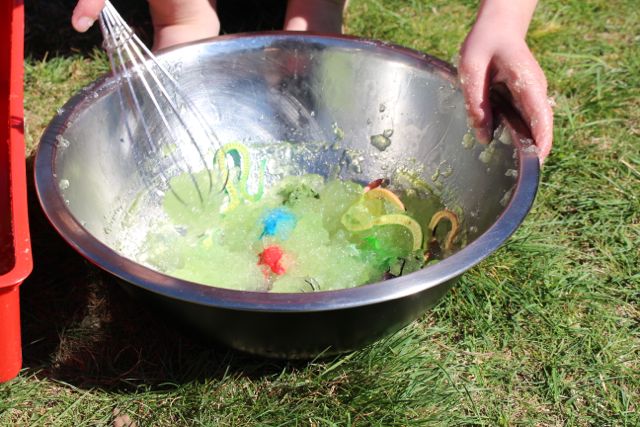
Mixing the colours together.
They ran their hands through it, put their feet in it, mixed it with whisks and spoons, measured it, put it in sieves and poured it through funnels. They really enjoyed the feel of the rice.

Feeling the rice with their feet.

Sifting the rice through a slotted spoon.

A’s pet store.
L made her tub into a Chinese Restaurant, while A opened a pet store in her tub. A offered snakes, frogs, lizards, bugs, a polar bear and a camel for sale. She charged Big L $28 for a couple of lizards. L made us entrees of spring rolls and prawn crackers, mains of rainbow pork, and dessert of deep fried ice cream. She used the sieve to deep fry the ice cream, and some containers became the stove where she cooked the pork.

Making deep fried ice cream.
We had a wonderful time playing with the coloured rice. Not only was it a good sensory play activity, it also inspired some beautiful pretend play. I love watching the kids bringing their imaginations to life during pretend play, and it’s even better if I’m allowed to play too!
I have stored the rice in an airtight container for more play later, and the kids have asked that I make some more colours to add to the tub for next time.
Update March 29 2014:

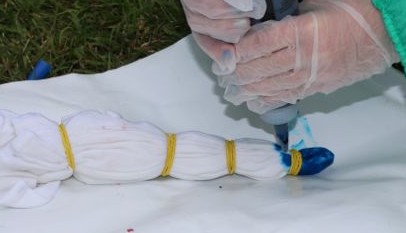
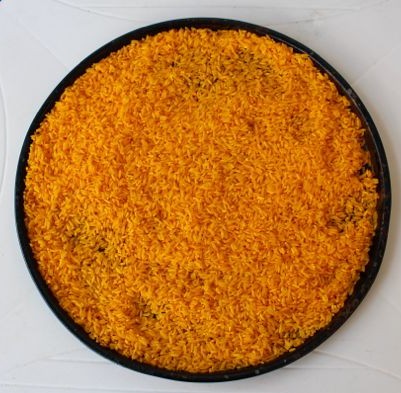
Colouring the rice yellow.
I made two new batches of coloured rice today using white rice. The colours are much more vibrant, and I’m very happy with them. The kids wanted yellow, and I made some more red. It was sunny and calm today too, so I was able to put the trays outside to dry. It took much less time than our earlier batches. Once it was all dry, I mixed the new colours in with the others. The kids are very happy with their rainbow rice.

New yellow rice.

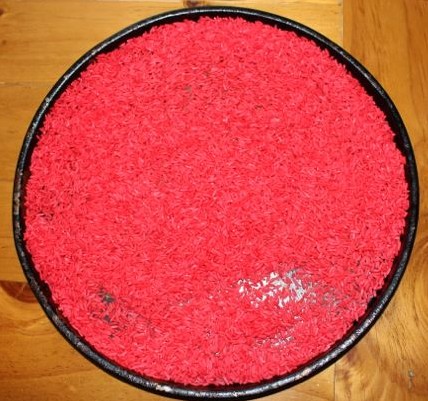
New red rice.

The new mix of colours.